
Introduction
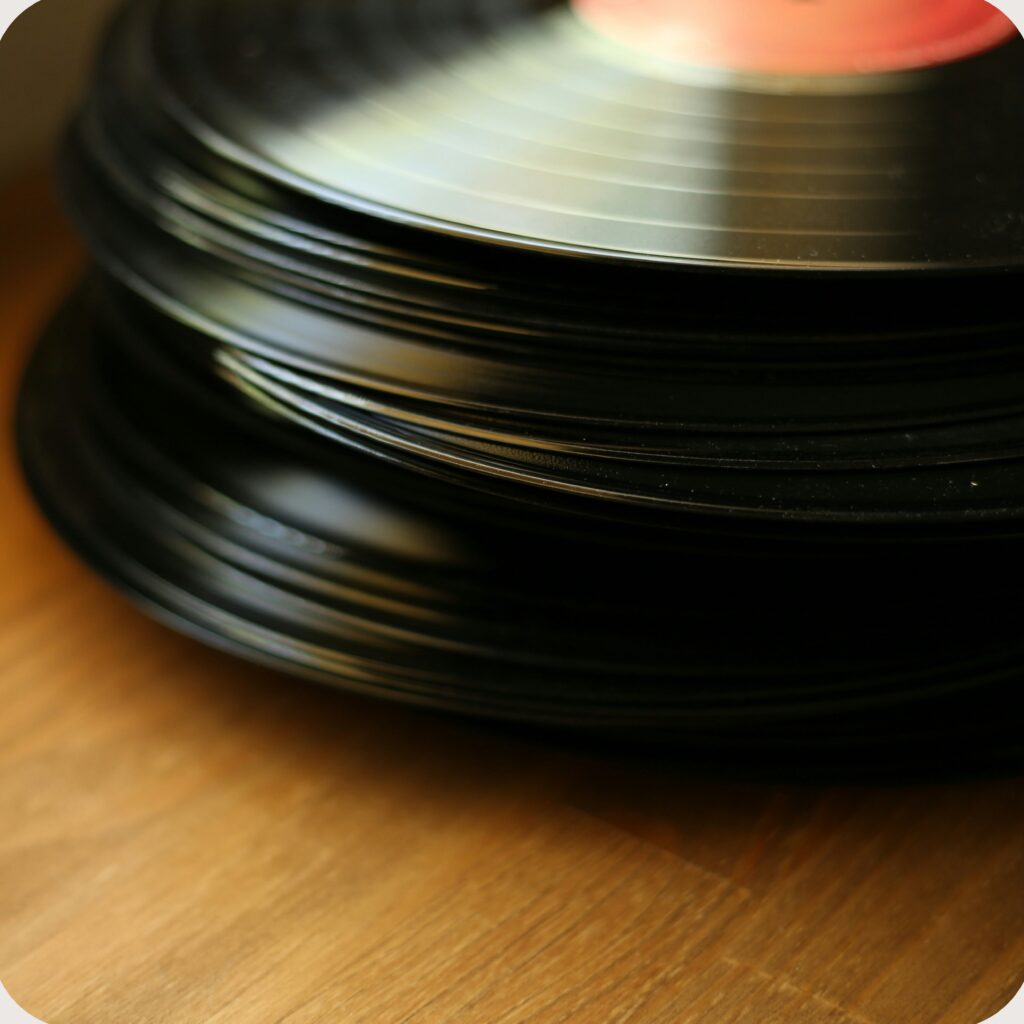
Vinyl records have made a massive comeback in recent years, with music enthusiasts rediscovering the warm and authentic sound that they offer. However, to ensure that your vinyl records sound their best and have a long lifespan, proper cleaning is essential. In this comprehensive guide, we will walk you through five effective methods to clean your vinyl records.
Why clean your vinyl records?
Before diving into the cleaning methods, let’s understand why cleaning your vinyl records is crucial. Over time, records accumulate dust, dirt, finger oils and worse! These can affect sound quality, accelerate stylus wear and cause skips or pops during playback. Cleaning your vinyl records not only enhances the audio experience but also helps preserve their longevity and value.
Method 1: Dry brushing
- Ensure your hands are clean to avoid transferring oils to the record.
- Make sure you have a clean mat on your turntable; vacuum it before starting if necessary.
- Carefully place the record on the turntable, ensure it is powered off.
- Turn the turntable on, then hold the brush by its handle and gently place the bristles on the record’s surface.
- The bristles of a record cleaning brush are typically made of carbon fiber, which has conductive properties that help remove static charges from the record. Static can attract and hold dust particles, so reducing static makes it easier to clean the record.
- As the record spins, the carbon fiber bristles penetrate the grooves of the record, dislodging and lifting dust and dirt particles. Because the bristles are thin and flexible, they can reach deep into the grooves without causing damage.
- Hold the record up to the light and check for any remaining dust or smudges. If necessary, repeat the brushing process until the record is clean. Proper cleaning should leave the record free of visible dust and debris.
Method 2: Using dish soap

- A somewhat controversial method, as improper techniques can damage the record. However, if done carefully, it can be effective for heavily soiled records. Here’s how to do it safely.
- You will need: A soft, clean cloth or sponge, mild dish soap (avoid any with abrasives), distilled water (if possible, to prevent mineral deposits), a record drying rack or clean, lint-free towel.
- Gently rinse the record under lukewarm tap water. Hold the record at an angle to prevent water from pooling. Try to keep it off of the label.
- Apply a few drops of mild dish soap to your clean, soft cloth or sponge. Gently clean the record in a circular motion, following the grooves. Avoid scrubbing too hard, as this can scratch the vinyl.
- Rinse the record thoroughly under cool tap water, or ideally distilled water to avoid depositing minerals.
- Place the record on a drying rack or pat it dry with a clean, lint-free towel. Ensure the record is completely dry before playing or storing it to prevent mold and mildew growth.
Method 3: DIY with cleaning fluid
- Record cleaning fluid typically contains a combination of ingredients designed to clean vinyl records effectively without causing damage. These usually include distilled water, alcohol, surfactants, and sometimes enzymes, preservatives and anti-static agents.
- Choose a clean, flat surface to work on. Make sure your hands are clean to avoid transferring oils to the record.
- Follow the manufacturer’s instructions for the cleaning fluid. Typically, you’ll apply a few drops of the fluid directly onto the record’s surface or onto the cleaning brush. If applying directly to the record, ensure an even distribution of the fluid across the grooves.
- Hold the record cleaning brush (ideally a different one than your dry brush) by its handle and gently place the bristles on the record’s surface. Move the brush in a circular motion, following the grooves. The fluid helps to loosen dirt and grime, while the brush lifts it away.
- Gently wipe the record with a microfiber cloth to remove any remaining fluid and dirt. Follow the grooves to avoid damaging the vinyl. The microfiber cloth can help remove any residual dust or cleaning fluid.
- Place the record on a drying rack or pat it dry with a clean, lint-free towel. Ensure the record is completely dry before playing or storing it to prevent mold and mildew growth.
Method 4: Ultrasonic cleaning machine
- Ultrasonic cleaning machines use high-frequency sound waves to remove dirt and contaminants from record grooves.
- Fill your ultrasonic cleaner’s tank with distilled water. You can add a few drops of record cleaning solution if desired. Ensure the water temperature is around 35°C to avoid warping the records.
- Place the records on the spindle or holder provided with the ultrasonic cleaner. Make sure the labels are not submerged in the water.
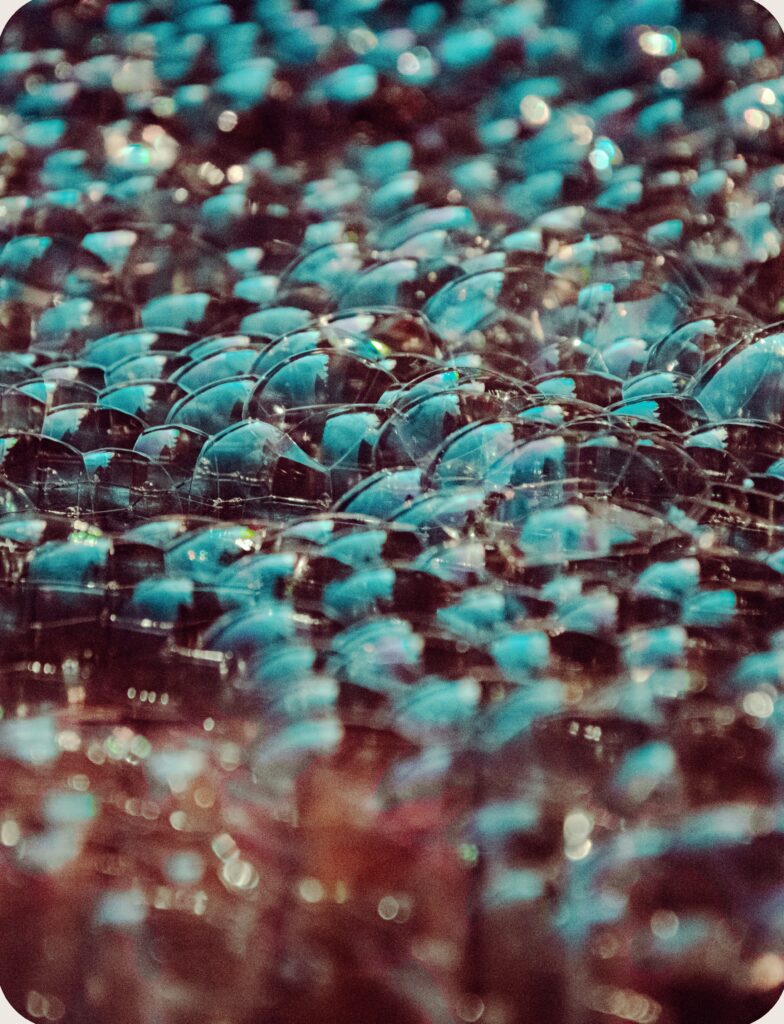
- Turn on the ultrasonic cleaner. The machine will create microscopic bubbles in the water through cavitation, which will gently clean the records without physical contact.
- Let the machine run for the amount of time recommended by the manufacturer.
- After the cleaning cycle, carefully remove the records from the tank. Rinse the records with distilled water to remove any remaining cleaning solution or contaminants.
- Pat the records dry with a microfiber cloth then place them on a drying rack or a clean, lint-free towel to air dry completely before returning to storage.
Method 5: Vacuum cleaning machine
- Using a vacuum machine is one of the most effective methods to ensure vinyl records are thoroughly cleaned without causing damage or leaving behind any residues.
- Follow the manufacturer’s instructions to set up the vacuum cleaning machine. Make sure it’s on a stable, clean surface and all components are properly assembled. Pay particular attention to any joints in the vacuum lines to ensure you have no leaks (nail varnish can be a good sealant).
- Place the record on the machine’s (clean!) platter, set it spinning and give it an initial dry brush for best results.
- Apply a quality record cleaning solution to the surface of the record. Ensure an even distribution of the fluid across the grooves.
- Use the machine’s cleaning brush to spread the solution evenly over the record’s surface. The brush will help to dislodge dirt and grime from within the grooves. while the solution will help to dissolve contaminants.
- Once the record has been thoroughly brushed, turn on the vacuum function of the machine. The machine will rotate the record while the vacuum arm sucks away the cleaning solution along with any loosened dirt and contaminants. This process removes the fluid and debris, leaving the record perfectly dry and clean.

Conclusions
We hope you’ll give some of these great methods a try if you’re interested in cleaning your records.
We’ve done our best to give an option for all budgets, but as is so often the case with hi-fi, the sky is the limit when it comes to what you can spend chasing improvements to your sound.
In our experience, the use of a vacuum cleaning machine has provided the best results with our own records, but naturally the most effective machines cost many thousands of pounds.
We made the investment in one such machine a few years ago and can clean your records on it too if you wish. Visit our shop to see what we can do for you.